Cyberpunk
Animated Backgrounds in Streamlabs, Twitch, YouTube and Kick
Use a looping video background in Streamlabs Desktop, then stream it to Twitch, YouTube or Kick. What changes between platforms, and what does not.
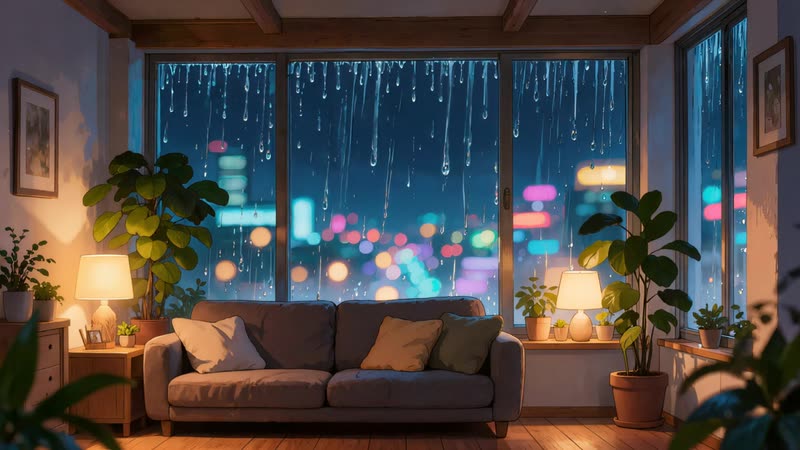
Your streaming app mixes every source into one video and sends that video to the platform. This means the background is set up once, in the app, rather than on Twitch, YouTube or Kick. The steps below cover Streamlabs Desktop. If you use OBS Studio, the Media Source guide covers the same ground.
Add the loop in Streamlabs Desktop
Open the scene you want to change. Then:
- Click + above the Sources list and choose Media File
- Name the source, then browse to your MP4
- Tick Loop so the video repeats
- Untick Restart playback when source becomes active if you want the loop to carry on between scenes
- Drag the source to the bottom of the list so it sits behind your camera and alerts
Twitch, YouTube and Kick see the same thing
The platform receives your finished video, so an animated background needs no setting on the platform side. The same scene works on all three. What does matter is bitrate. Busy motion such as heavy rain or fast particles needs more bitrate to stay sharp than slow drift does. If your background looks blocky on stream, try a calmer loop or raise the bitrate in your output settings, within what your platform and upload speed allow.
Offline banners are still images
Twitch, YouTube and Kick show a still image on your channel when you are not live, not a video. Take a frame from your Offline loop and upload it as your offline or channel banner. Viewers then see the same scene whether you are live or not.
Scene collections in Streamlabs
Streamlabs Desktop also keeps scenes in scene collections. Put a new kit in its own collection, so you can switch back to your old layout if you change your mind. Streamlabs can also import an OBS scene collection, which saves rebuilding a kit you already set up in OBS.